How to Convert ZPL Between 203, 300 and 600 DPI Without Chasing Drift
DPI conversion sounds like arithmetic until the first sample prints with the barcode too wide, the logo too tall, and the address block slightly lower than expected. ZPL coordinates are dots. Physical labels are inches or millimeters. The conversion is simple, but the review is not.
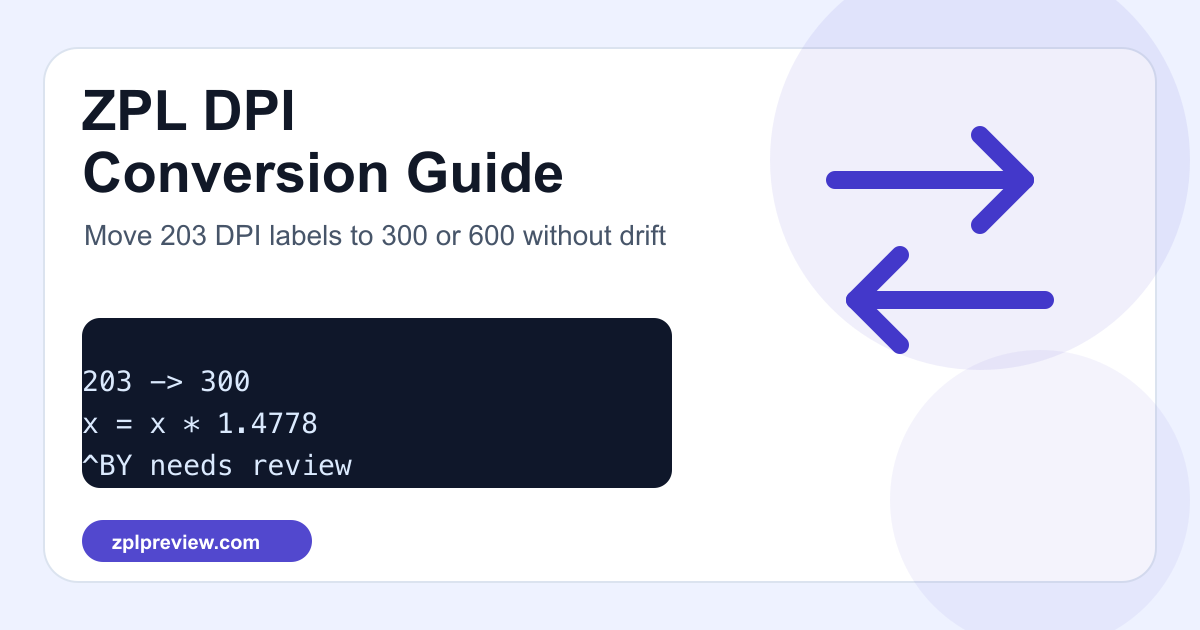
The conversion ratio
203 to 300 DPI: multiply coordinates and sizes by 300 / 203 = 1.4778.
300 to 203 DPI: multiply by 203 / 300 = 0.6767.
203 to 600 DPI: multiply by 600 / 203 = 2.9557.
The ZPL DPI Converter automates the first pass, but you still need to review barcode defaults, font choices, and graphic payloads.
Example: scale a small label
^XA
^PW812
^LL406
^FO50,50^A0N,32,32^FD203 DPI label^FS
^FO50,115^BY2
^BCN,100,Y,N,N
^FDABC123456^FS
^XZ
At 300 DPI, the width and length become approximately 1200 and 600. The field origin 50,50 becomes roughly 74,74. Text height 32 becomes about 47.
^XA
^PW1200
^LL600
^FO74,74^A0N,47,47^FD300 DPI label^FS
^FO74,170^BY3
^BCN,148,Y,N,N
^FDABC123456^FS
^XZ
The trap: ^BY is not just another coordinate
Barcode width needs judgment. Scaling ^BY2 to ^BY3 is often right when moving from 203 to 300 DPI, but not always. If the barcode already used the full label width, a wider module may push it over the edge. Preview and scanner-test it.
A warehouse migration story
A common failure appears during printer replacement. A 4x6 shipping template was approved years ago on a 203 DPI desktop printer. The new packing lane receives 300 DPI industrial printers, and the first batch looks almost right: the address block is readable, the border is aligned, but the Code 128 barcode is slightly wider and occasionally fails at the scanner gate.
In that situation, do not keep nudging every ^FO coordinate by hand. First run the template through the ZPL DPI Converter. Then inspect the field list with ZPL Field Inspector so you can see which commands changed and which fields are close to the label edge.
Migration notes:
Original printer: 203 DPI
Target printer:   300 DPI
Ratio:            1.4778
Risk fields:      ^BY, ^BC height, ^GF logo payload, long address block
Approval:         preview, print, scan, record printer settings
Fonts and wrapped text
Text does not always scale gracefully. A larger DPI can make edges cleaner, but a proportional change may cause long names or addresses to collide with nearby fields. After conversion, inspect the fields with ZPL Field Inspector and preview labels using realistic data, not only short sample values.
Graphics and logos
Images embedded with ^GF may need to be regenerated at the target resolution. Scaling the coordinates without regenerating the source graphic can make logos look soft or oversized. For artwork, use Image to ZPL after deciding the final printed size.
A safe DPI migration checklist
- Confirm the physical label size and target printer DPI.
- Scale
^PW,^LL, coordinates, boxes, and font sizes. - Review
^BYby scanner test, not only by formula. - Regenerate logos and dense graphics if needed.
- Test longest realistic text values.
- Print one sample on the real printer and media before batch changes.
A tiny conversion helper
For scripts and migration notes, it helps to write down the math in code. This is not a full parser, but it makes the ratio visible during review.
const fromDpi = 203;
const toDpi = 300;
const ratio = toDpi / fromDpi;

function scaleDot(value) {
  return Math.round(value * ratio);
}

console.log(scaleDot(812)); // 1200
console.log(scaleDot(50));  // 74
After the automated pass, review any command that has semantic meaning beyond coordinates. Barcodes, fonts, and downloaded graphics deserve manual attention because their physical behavior matters more than their arithmetic.
Commands to review manually
A conversion tool can scale common numbers, but production review should still pause at commands that have a physical or semantic effect. These are the ones that most often create surprises after a printer swap.
^BY: module width affects scanner reliability and total barcode width.^BC,^BQN,^BX: barcode height, QR magnification, and 2D symbol density deserve real scan tests.^FB: wrapped text may move differently when font size changes.^GF: bitmap graphics may need regeneration at the target dot size.~SDand^PR: darkness and speed can change print quality even when layout math is correct.
For a final handoff, export a proof with ZPL to PDF or ZPL to PNG, then store it with the approved ZPL and printer settings. That makes the next migration much less mysterious.
Approval notes for mixed-DPI fleets
Many teams run 203 DPI desktop printers at packing benches and 300 DPI industrial printers in receiving or production. If both printer classes must use the same business label, keep two approved ZPL files instead of one ambiguous file with comments like "works on both." The barcode and text wrapping behavior can diverge enough that a single hidden template becomes hard to audit.
approved-labels/
  item-label-203dpi.zpl
  item-label-203dpi-proof.pdf
  item-label-300dpi.zpl
  item-label-300dpi-proof.pdf
  approval-notes.md
Use the ZPL Approval Report after each DPI conversion so support tickets include printer model, density, field count, barcode count, and the exact reviewer notes.
DPI conversion is not hard, but it is unforgiving when rushed. Scale first, then inspect the parts that humans and scanners actually depend on.